Headstage Connection and Disconnection Procedure
Follow the steps below to safely connect and disconnect the X-Headstage, preventing damage to the Molex connectors.
Connection Procedure
1. Align the connectors
- Hold both the X-Headstage and the adapter/EIB/probe firmly.
- Ensure the Molex connectors on both sides are perfectly aligned in parallel.
- Do not tilt or force the connector at an angle.
2. Insert straight and evenly
- Press both sides of the connector gently but firmly until it is fully seated.
- Apply equal pressure on both sides to ensure a parallel fit.
3. Check connection
- Confirm the connector is securely attached and sits flush between the X-Headstage and the adapter.
- Avoid unnecessary movement or twisting once connected.
4. Attach the cable
- While holding the connected X-Headstage and adapter/EIB/probe in place, insert the cable carefully and securely.
IMPORTANT: Uneven pressure or partial insertion can damage the connector housing or reduce connector lifespan.
Disconnection Procedure
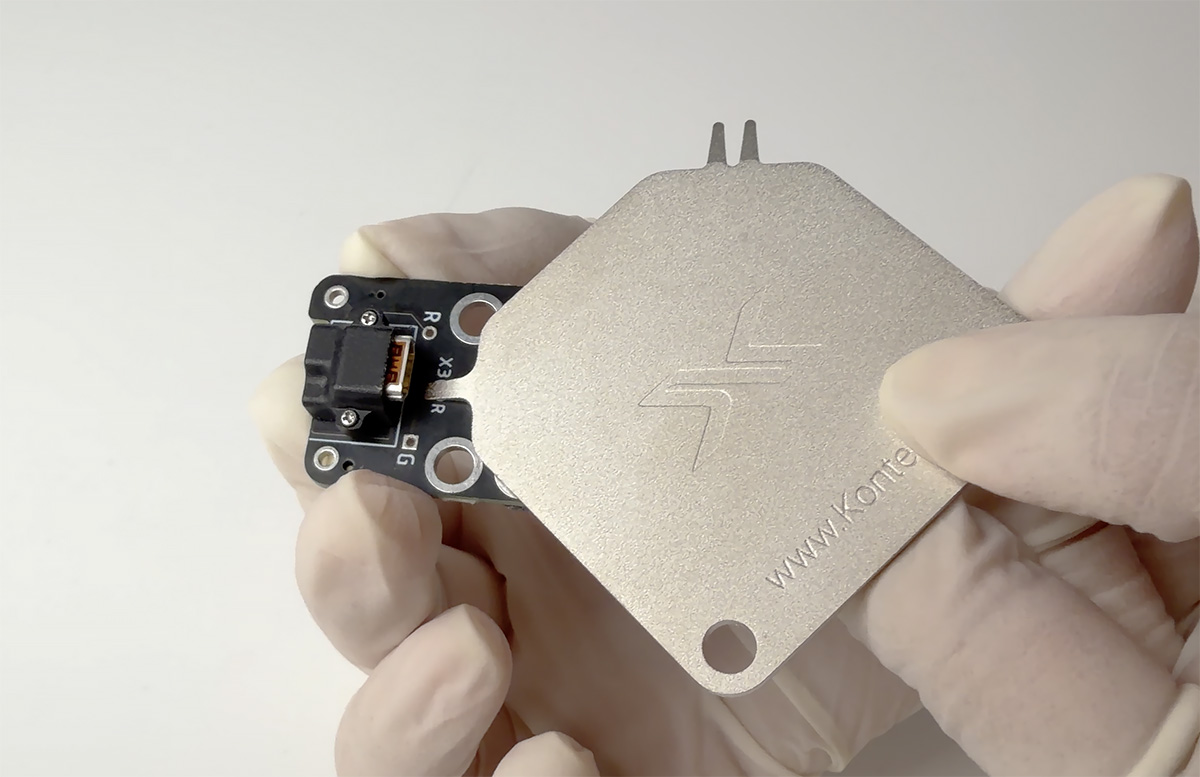
1. Prepare the removal tool
- Use the designated flathead screwdriver (tip < 0.5 mm) or the official removal tool.
- Insert it gently between the Molex connectors of the X-Headstage and the adapter/EIB/probe.
2. Lift gently and evenly
- Apply slight, even upward pressure along the full length of the connector.
- Do not pull the cable or lift the connector from a single side.
3. Complete disconnection
- Once loosened, separate the connectors by hand, keeping them aligned and parallel.
- Store the headstage in a clean, static-free environment.
IMPORTANT: Tilting or twisting the connector during removal may stress solder joints and reduce the operational life of the headstage.


